|
|
|
|
|
|
|
|
|
|
rick p
Blaster class
Joined: 01 Nov 2009
Posts: 133
Location: melton vic.
|
 Posted: Wed Jun 29, 2011 4:29 pm Post subject: GYTR RAPTOR DECAL Posted: Wed Jun 29, 2011 4:29 pm Post subject: GYTR RAPTOR DECAL |
  |
|
hi guys just wondering if any 1 can help me with a problem i just bought a gytr blue drip sticker kit and it doesnt come with instructions ive worked out where all of them go except there is 2 with yamaha written on them can some 1 tell me where they go also the triangle 1 with a yamaha badge.Also if u guys have any tips to putting them on would b great thanx
_________________
RAPTOR 700R |
|
| |
|
|
|
|
|
|
|
|
Sponsor
|
|
|
|
|
|
|
|
|
kingquad
Blaster class
Joined: 26 Apr 2011
Posts: 144
Location: Riverland
|
| Posted: Wed Jun 29, 2011 5:38 pm Post subject: |
|
|
Triangle one goes on the front grill at the top.
What two yamaha ones do you mean?
Do they have little triangle curly bits on the ends of them?
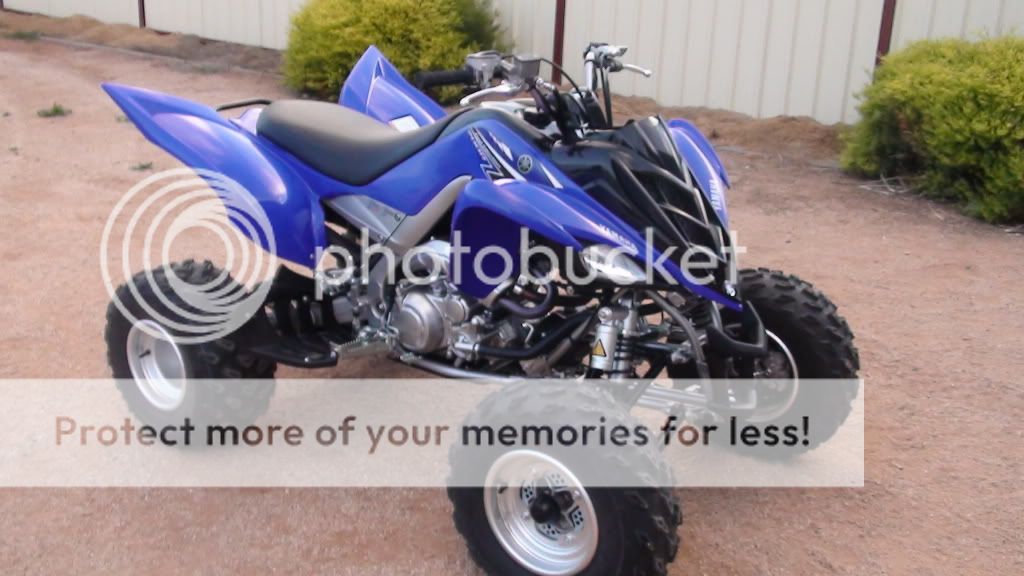
If you have the blue model raptor can you please post up a pic of the kit on the bike.
I'm thinking of getting the same kit. |
|
| |
|
|
|
|
|
|
|
|
rick p
Blaster class
Joined: 01 Nov 2009
Posts: 133
Location: melton vic.
|
| Posted: Wed Jun 29, 2011 6:23 pm Post subject: |
|
|
there is 2 with yamaha written on them the rest have gytr they r wide at 1 end and curve into a skinnier end its not the 2 with triangle ends i know they go at the top of the rear gaurds.yer i have the blue model il definately send u pics
_________________
RAPTOR 700R |
|
| |
|
|
|
|
|
|
|
|
kingquad
Blaster class
Joined: 26 Apr 2011
Posts: 144
Location: Riverland
|
| Posted: Wed Jun 29, 2011 6:55 pm Post subject: |
|
|
I think they go at the bottom of where the petrol tank plastic ends, just near the seat.
The plastic tapers down that end, That's where they go i'm sure of it.
See the little bikes ans boats sticker on my frame I'm sure it goes near there. |
|
| |
|
|
|
|
|
|
|
|
rick p
Blaster class
Joined: 01 Nov 2009
Posts: 133
Location: melton vic.
|
| Posted: Wed Jun 29, 2011 7:00 pm Post subject: |
|
|
nar there is 1 that takes up the whole side of the tank from top to bottom then there is 1 that runs beside the seat.its got me stuffed ive tried every way i can think of
_________________
RAPTOR 700R |
|
| |
|
|
|
|
|
|
|
|
fossil800R
The Day Starts With OZATV !

Joined: 22 Aug 2007
Posts: 1166
Location: Barkly, Victoria
|
|
| |
|
|
|
|
|
|
|
|
rick p
Blaster class
Joined: 01 Nov 2009
Posts: 133
Location: melton vic.
|
| Posted: Wed Jun 29, 2011 8:45 pm Post subject: |
|
|
thanx foss il check it out.
_________________
RAPTOR 700R |
|
| |
|
|
|
|
|
|
|
|
rick p
Blaster class
Joined: 01 Nov 2009
Posts: 133
Location: melton vic.
|
| Posted: Wed Jun 29, 2011 8:53 pm Post subject: |
|
|
i worked out why i cant get it to fit thanx for that pic foss it looks like they r made for the earlier model that dont have the digital dash coz mine isnt flat where they have put theirs. thanx for all your help guys
_________________
RAPTOR 700R |
|
| |
|
|
|
|
|
|
|
|
fossil800R
The Day Starts With OZATV !
Joined: 22 Aug 2007
Posts: 1166
Location: Barkly, Victoria
|
| Posted: Wed Jun 29, 2011 9:09 pm Post subject: |
|
|
No probs. I use a spray bottle of water with a little detergent in it to put a mist onto the plastics to slide the graphics around for positioning. Work the air bubbles out from the centre outwards to the edges and use a hairdryer to make the graphics more flexible for the curved surfaces on the fenders. I used a plastic credit card with a cloth pulled around it as a squeegee so it didnt mark the surface. The water will allow you to lift off the graphics too if you don't have them positioned right. Keep working the bubbles out until they are all gone. Small ones will generally disappear as the graphic dries and cures. The graphic should adhere fully over night, pop any left over bubbles with a pin. Check out the invision graphics website. I think they have a graphic installation video or print out on the site.
_________________
I'm not suffering from insanity, I'm enjoying it!!! |
|
| |
|
|
|
|
|
|
|
|
|
|
|
|
|