fatz
90cc 2 stroke / 110 4 stroke
Joined: 12 Apr 2011
Posts: 52
 |
 Posted: Mon Apr 16, 2012 10:45 pm Post subject: Big 3 install for 2010 raptor - HOW TO Posted: Mon Apr 16, 2012 10:45 pm Post subject: Big 3 install for 2010 raptor - HOW TO |
  |
|
Hey guys,
This is my first write up on here, so please excuse if I have overloaded on pictures or under written anything. This is the first time I have done these mods also, so steps or the process may be slightly off to how others would do it.
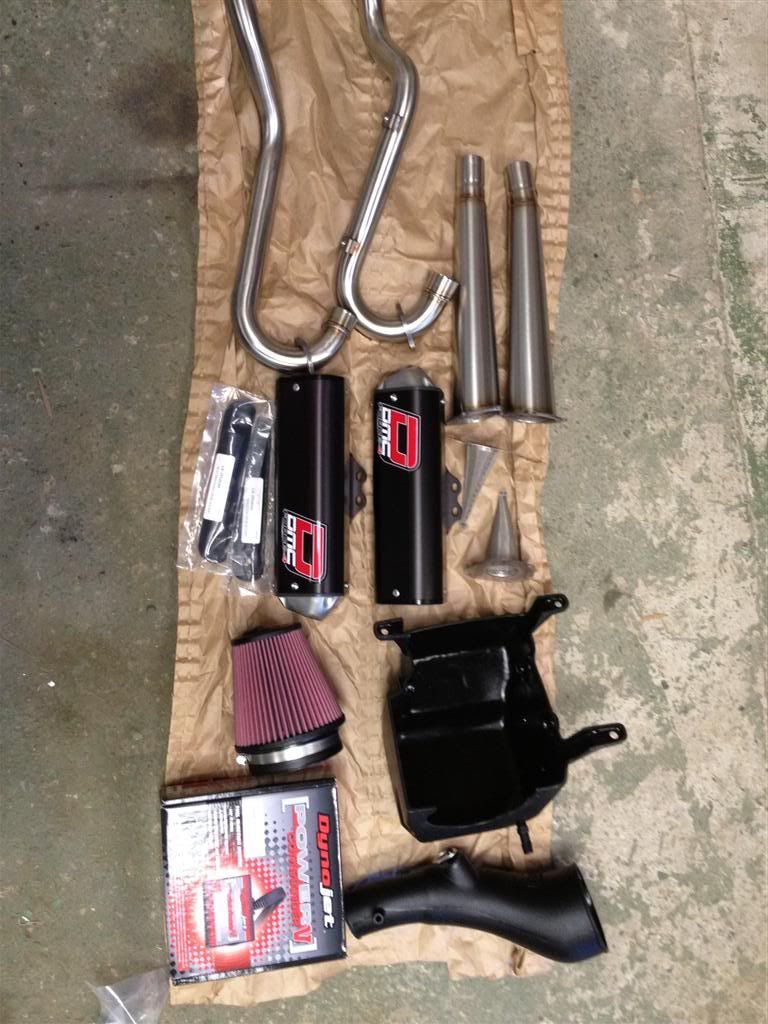
I got a DMC force 4 exhaust with a PC5 and FCI intake with box.
There was little instructions and I thought this might help someone.. or at least be informative.
The exhaust kit
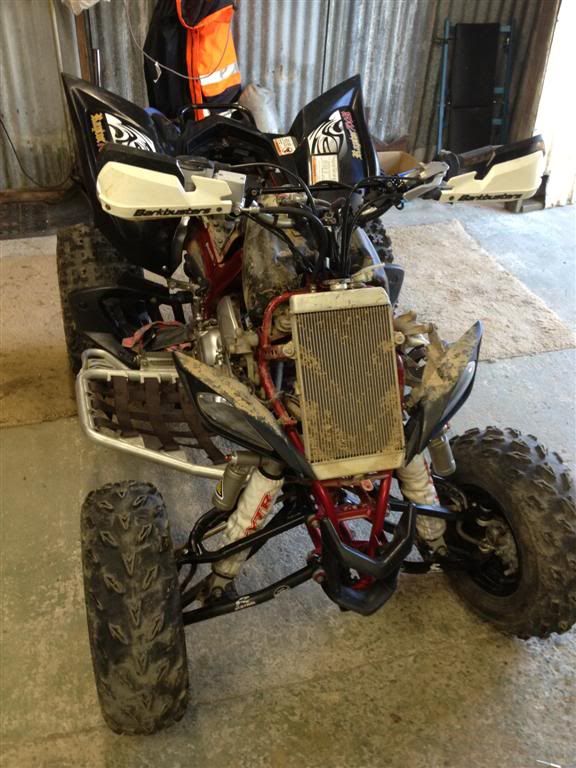
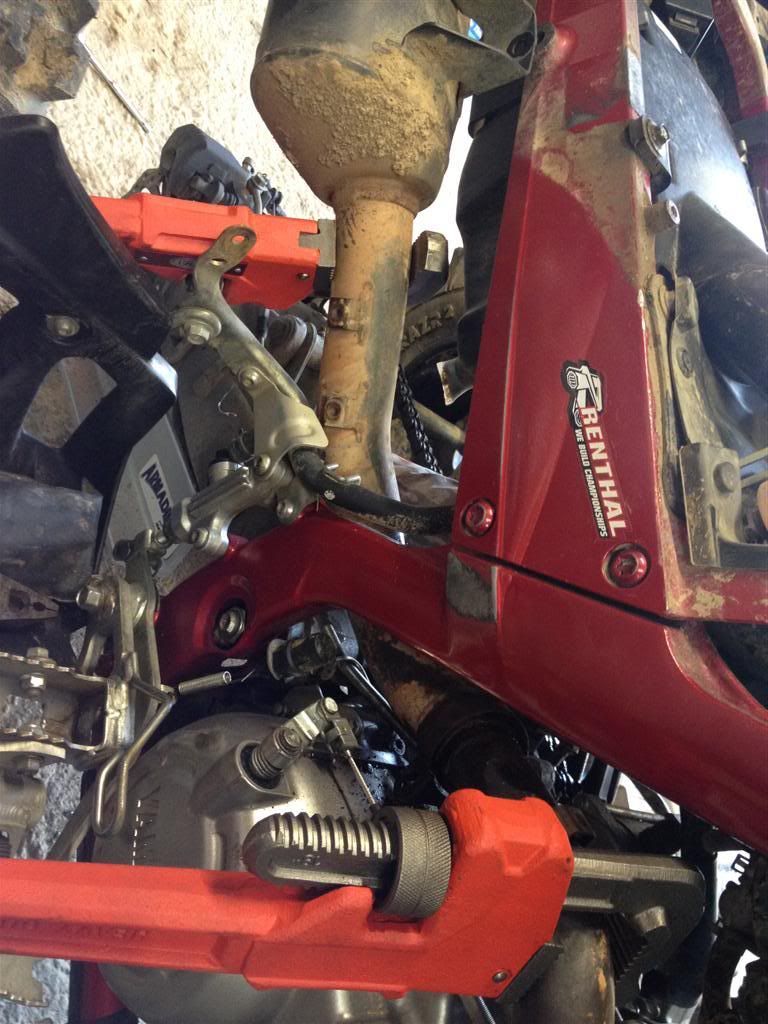
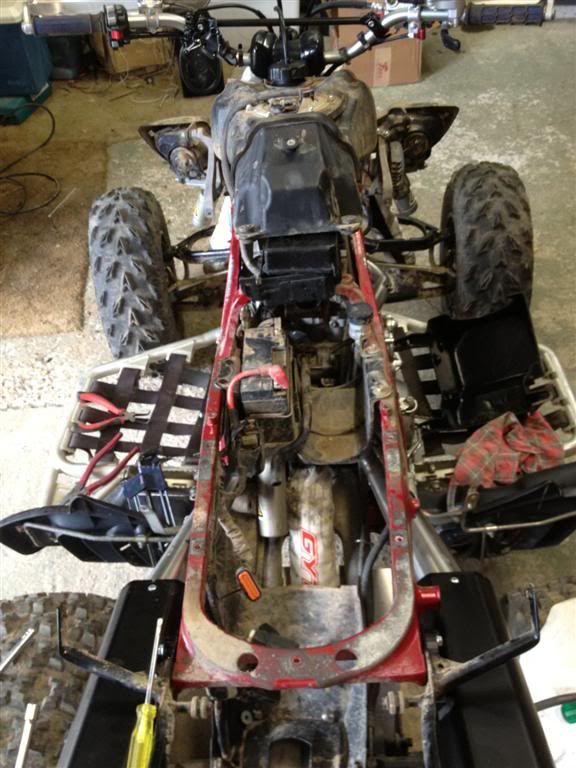
I started with removing the fenders
Undo the exhaust clamps, mine where very tight. I used a bit of bar over the allen key to assist
I used stillsons to free the rear half of the exhaust apart
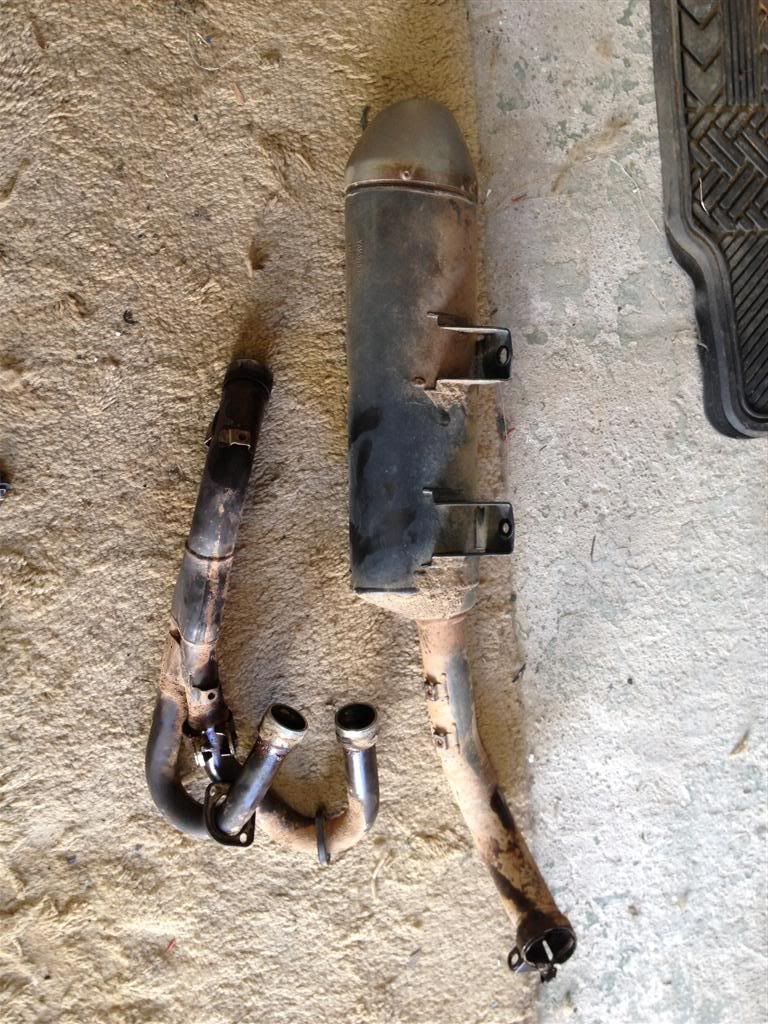
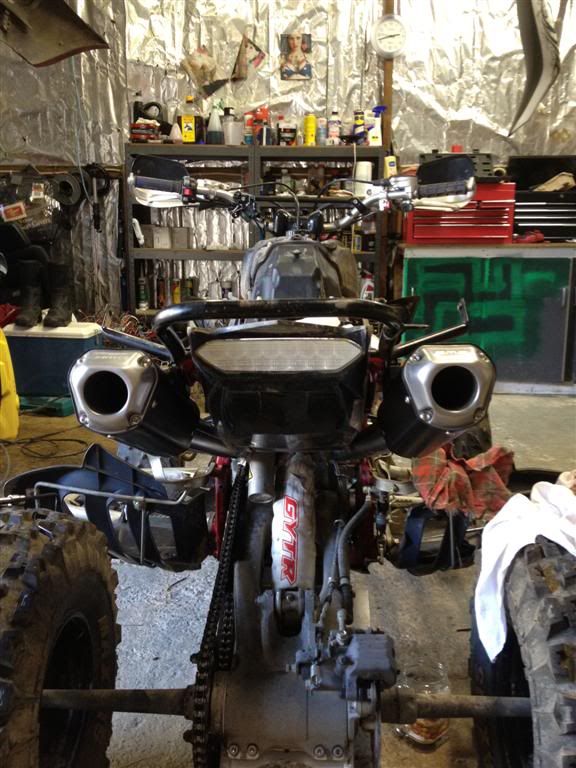
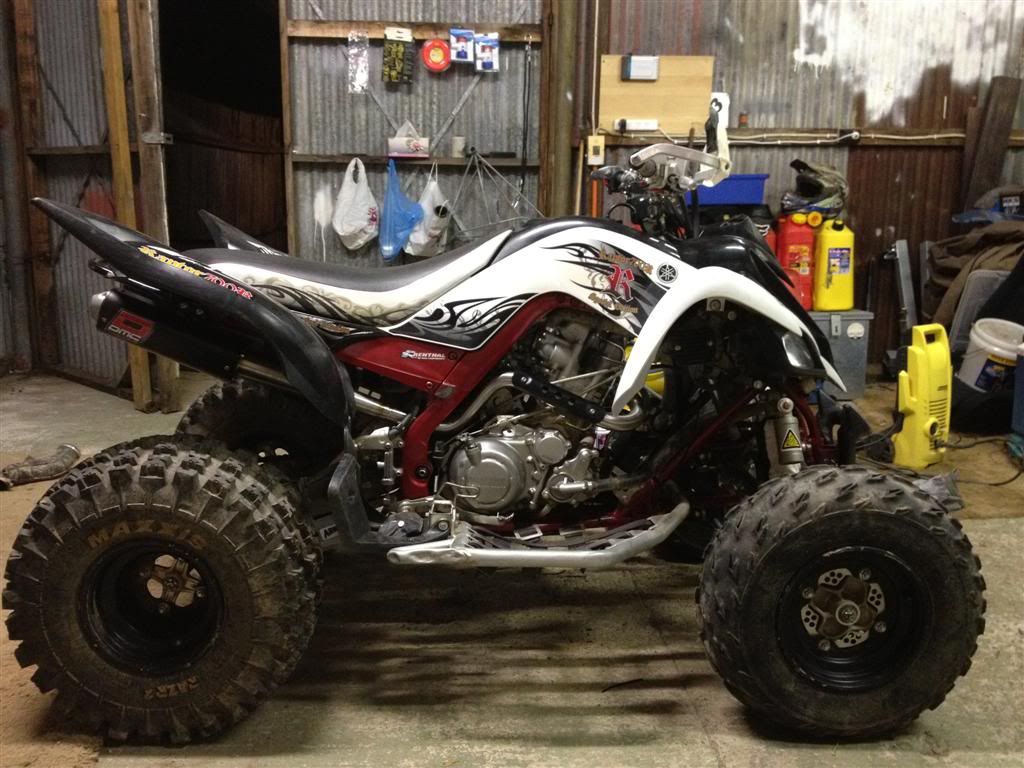
Old exhaust, and pic of bike
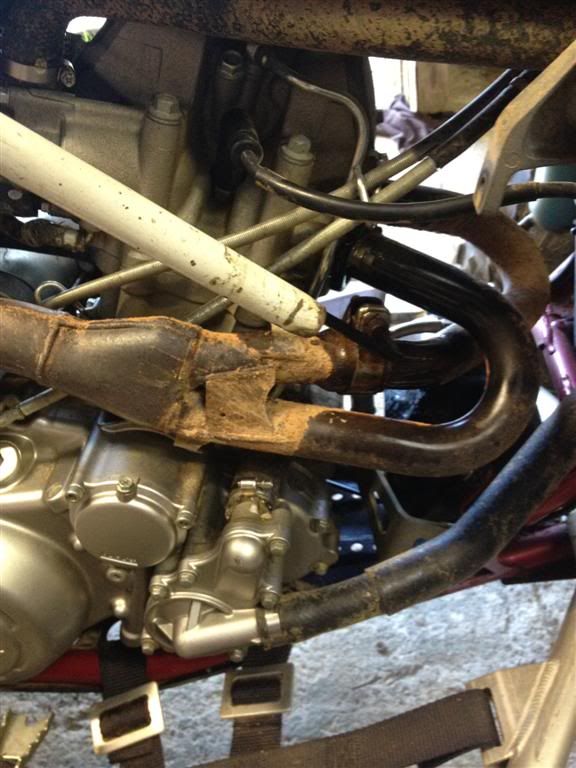
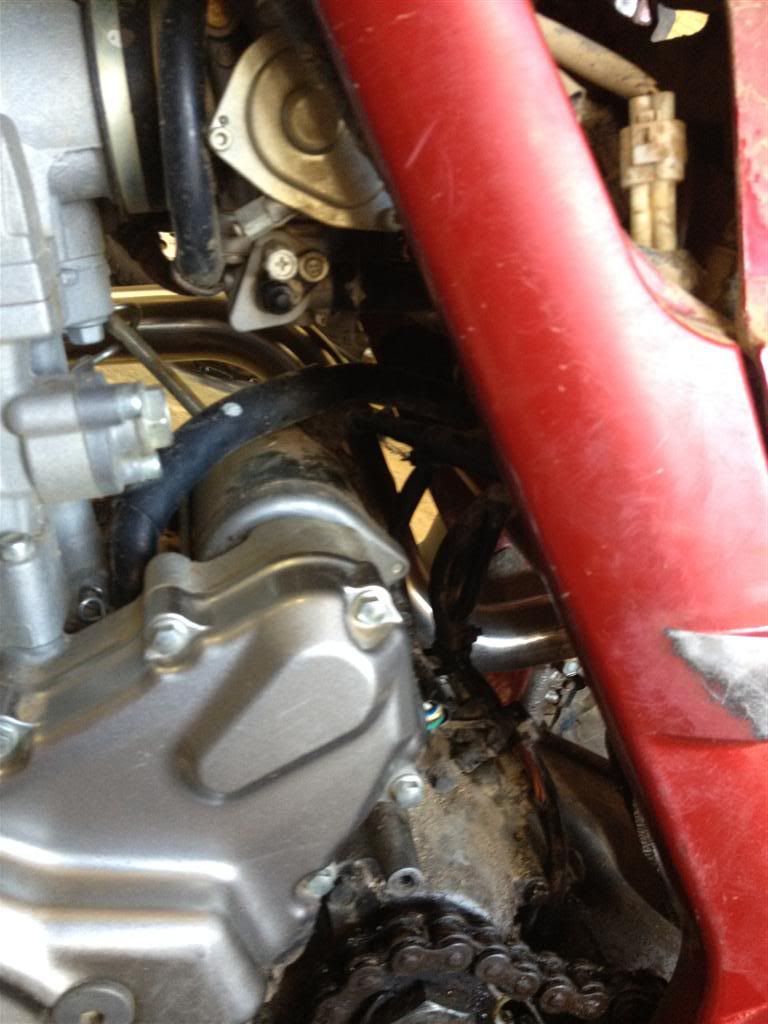
I then test fitted the header pipes and looked for and issues
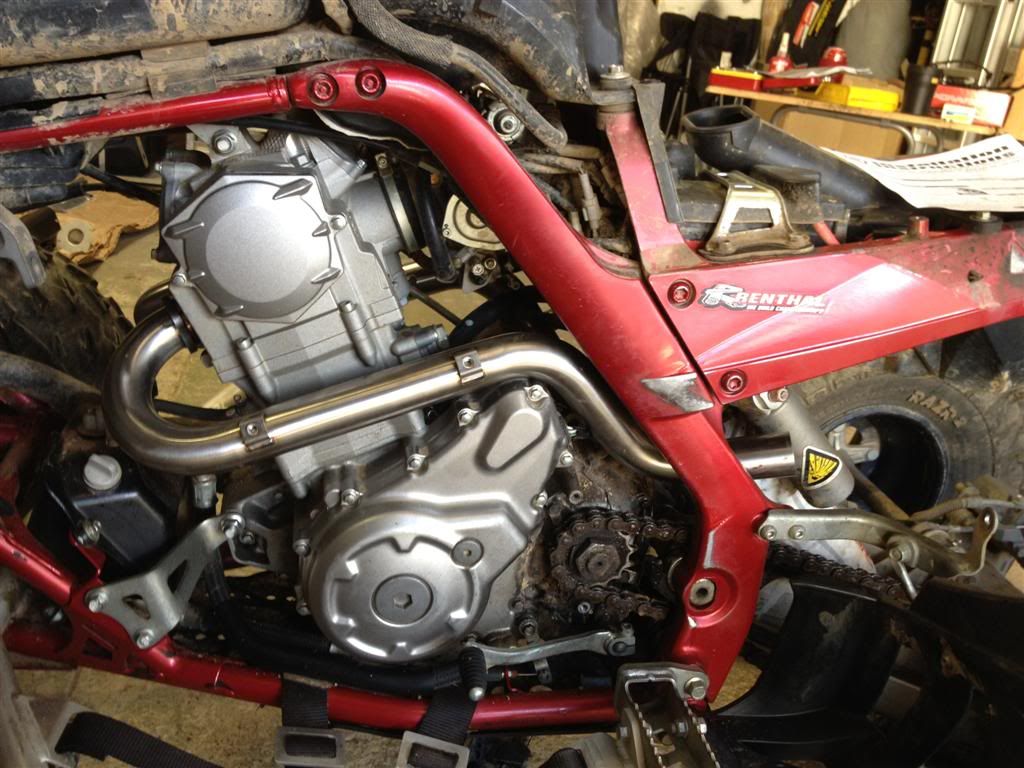
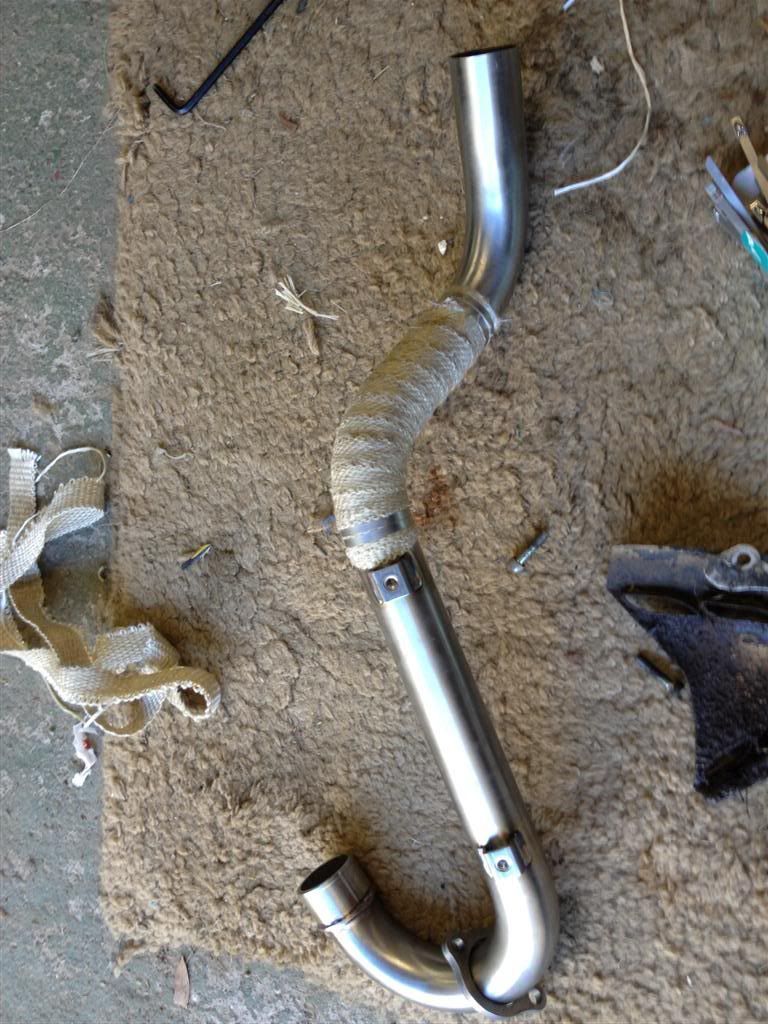
There are a few wires on the left hand side that I was worried about melting, so I cable tied them back as far as I could, and heat wrapped the pipe in that section.
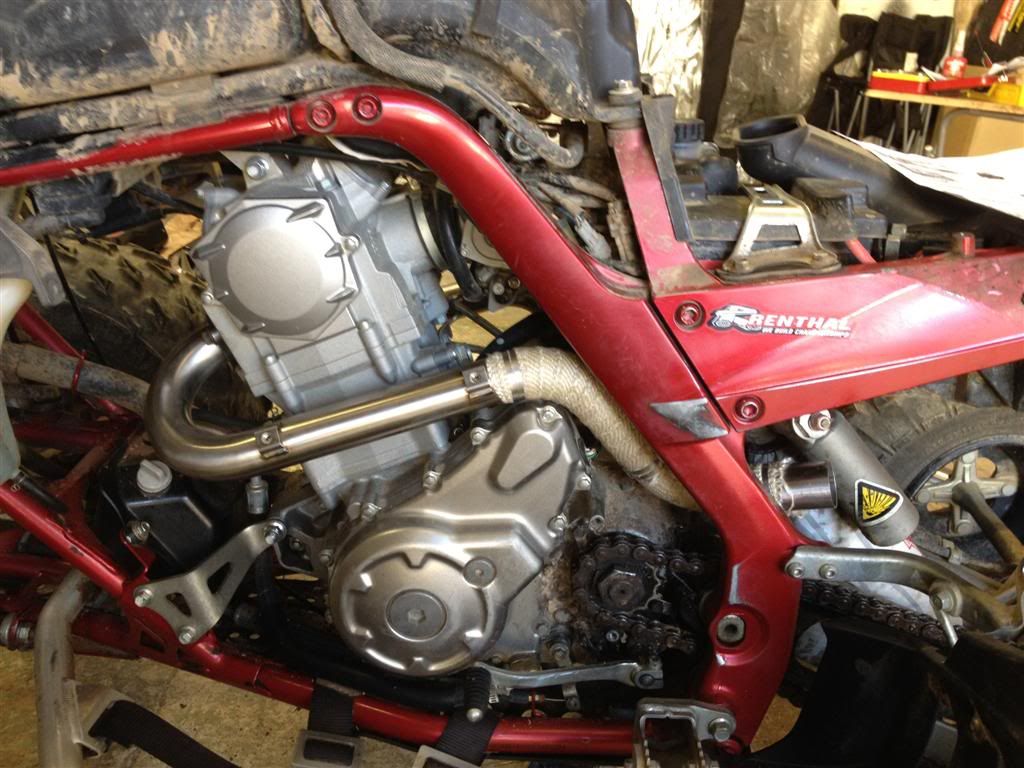
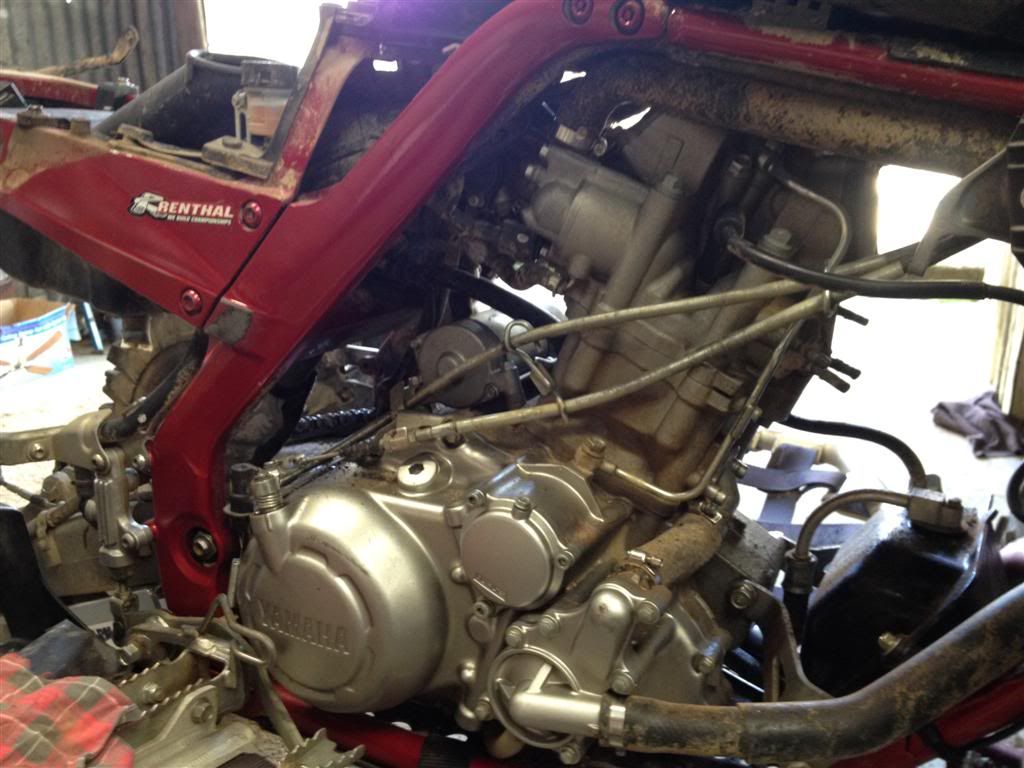
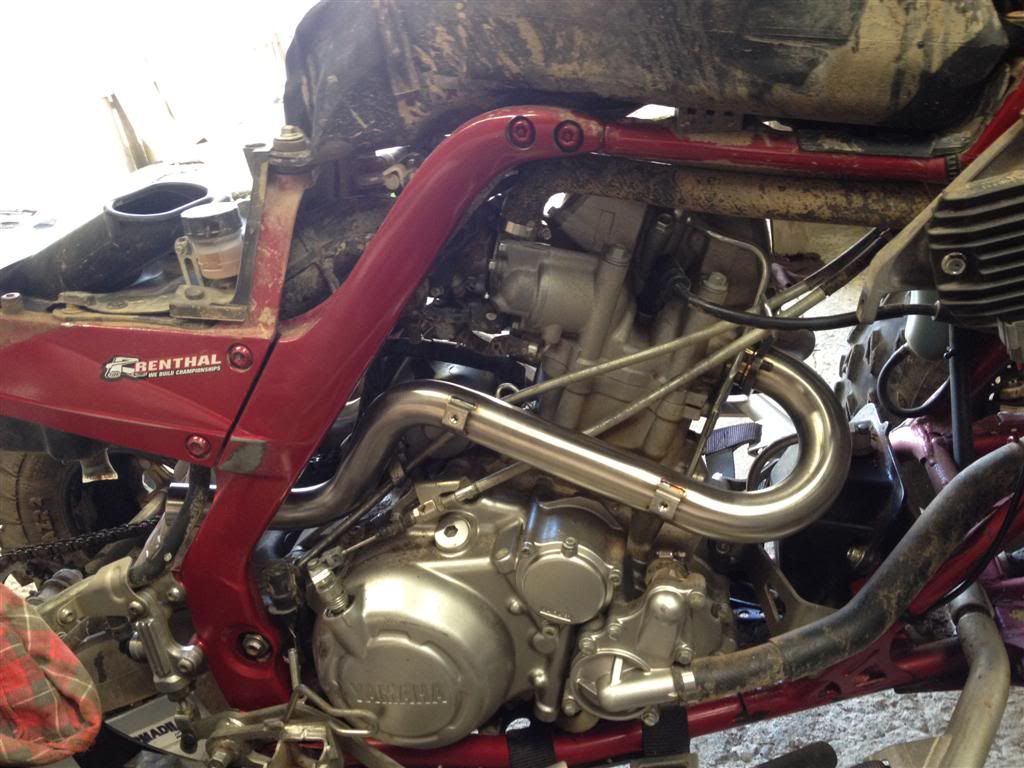
Once I was happy with that, I proceeded with putting the rest of the system together.
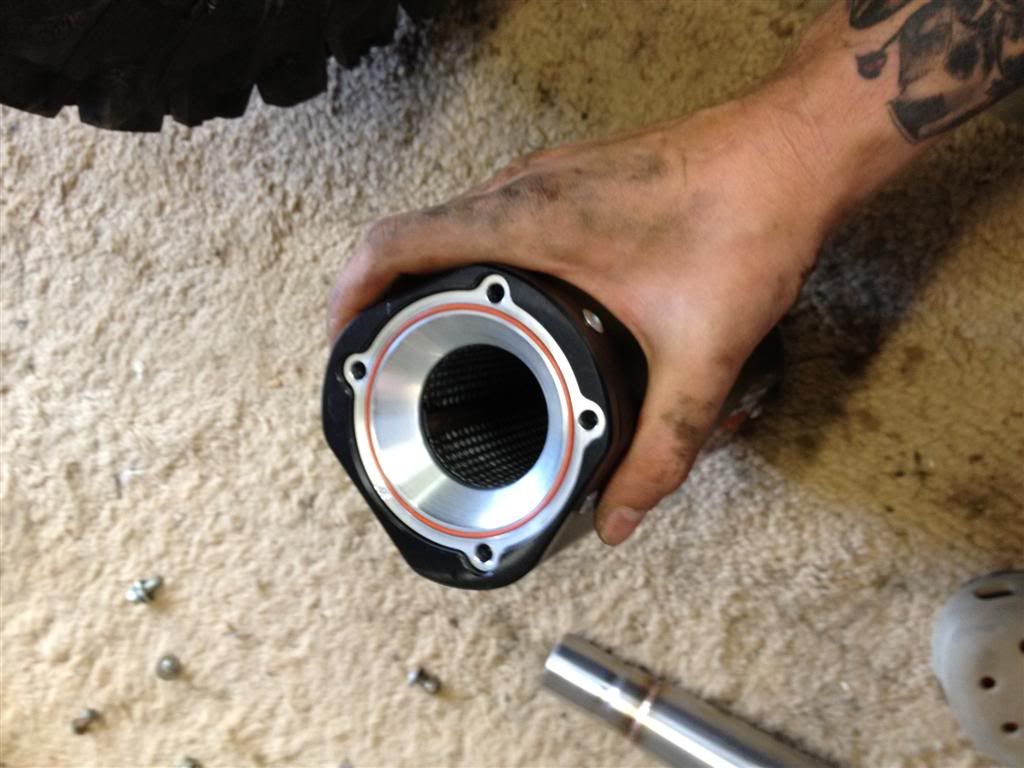
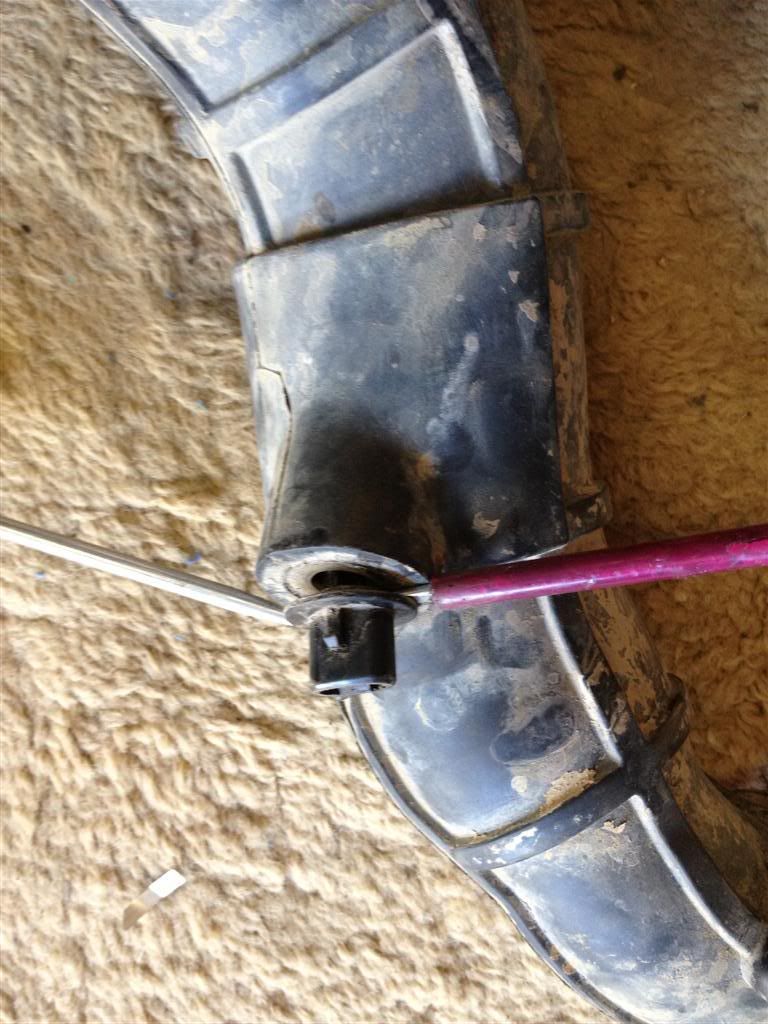
Fitting the supplied O ring
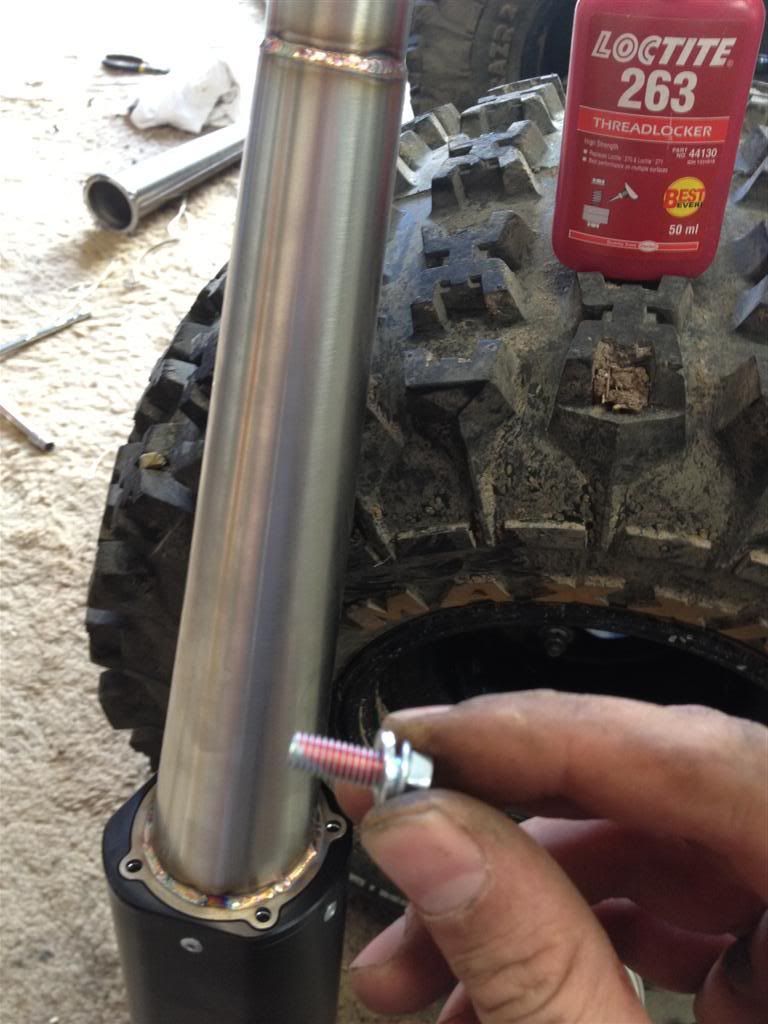
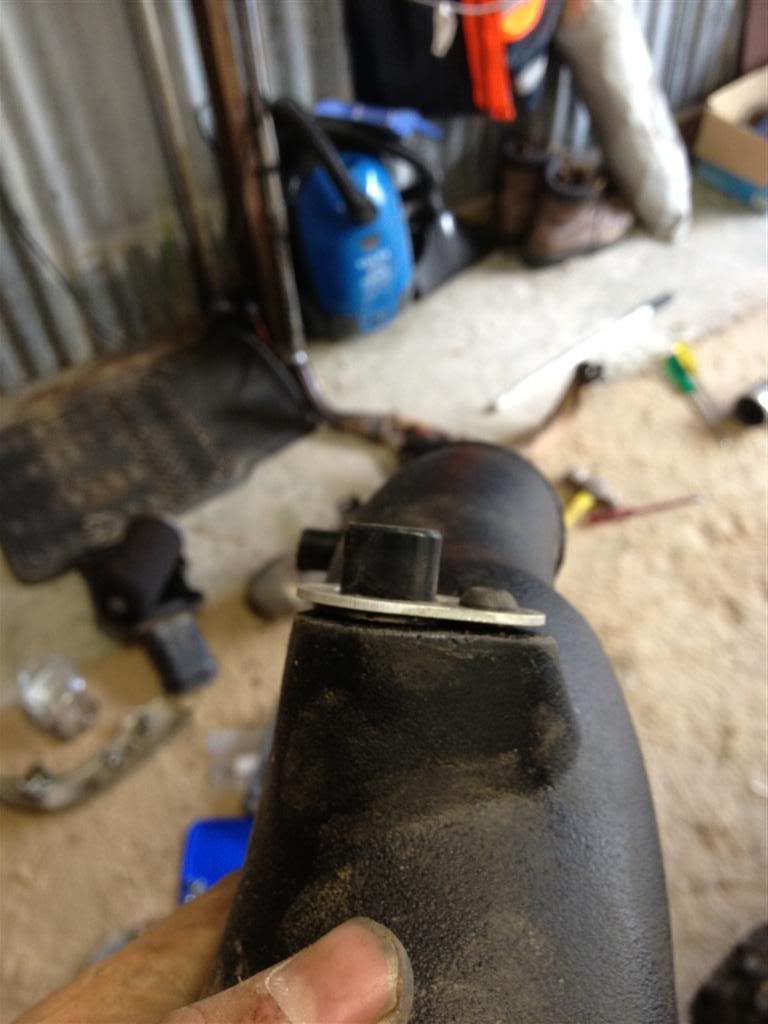
I didn't have the recommended Loctite, so I used 263 instead, a dab on all bolts
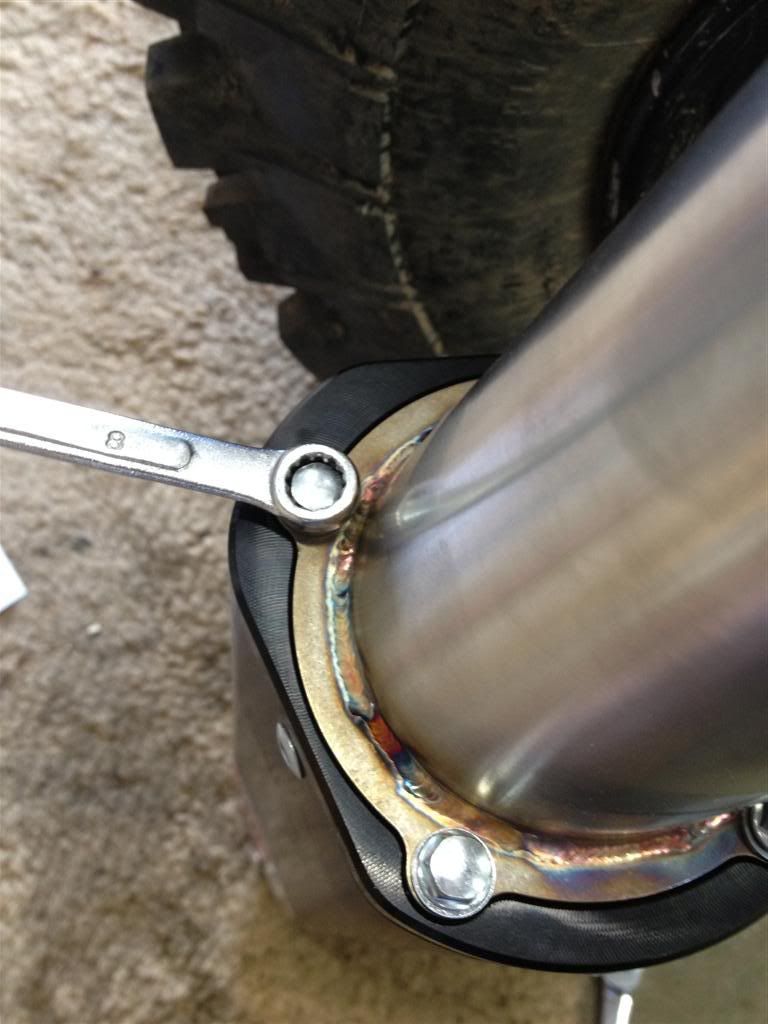
Then use a 8mm spanner and tightened up in a diagonal method.
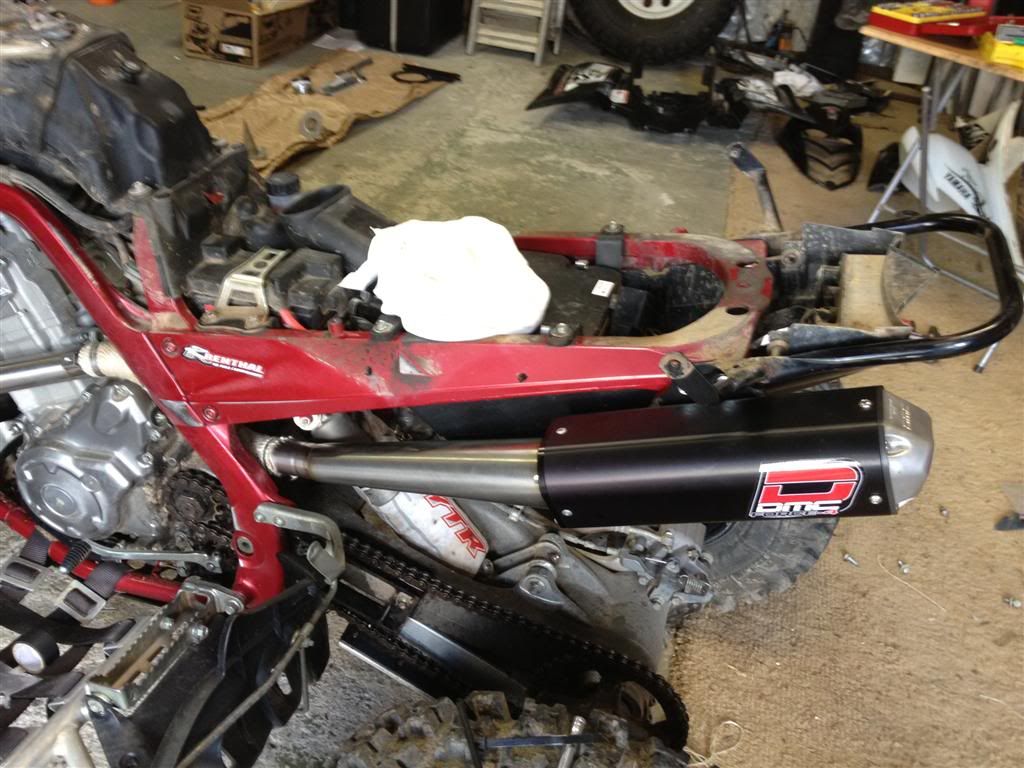
Once that is done on both cannons, then it's a matter of fitting it all together loosely making sure there is not going to be any obstructions. After that you can go through and tighten everything up.
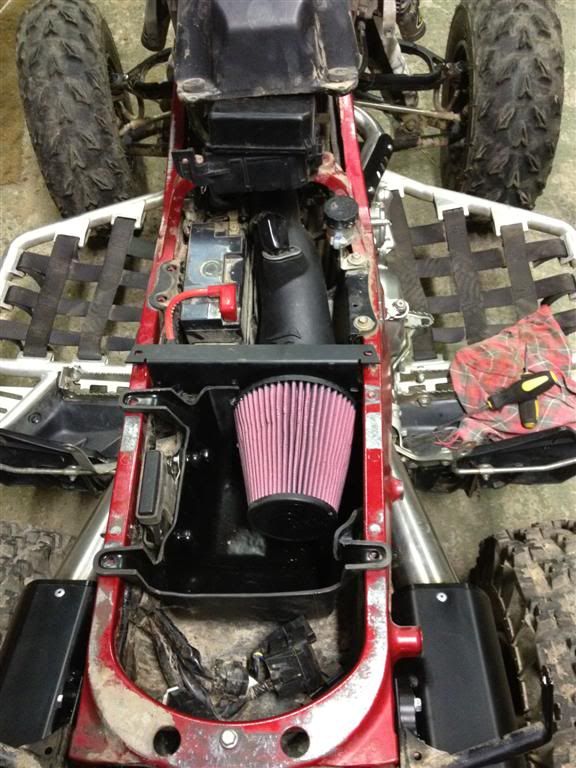
Ok, so now that that's done.. It's onto the intake,
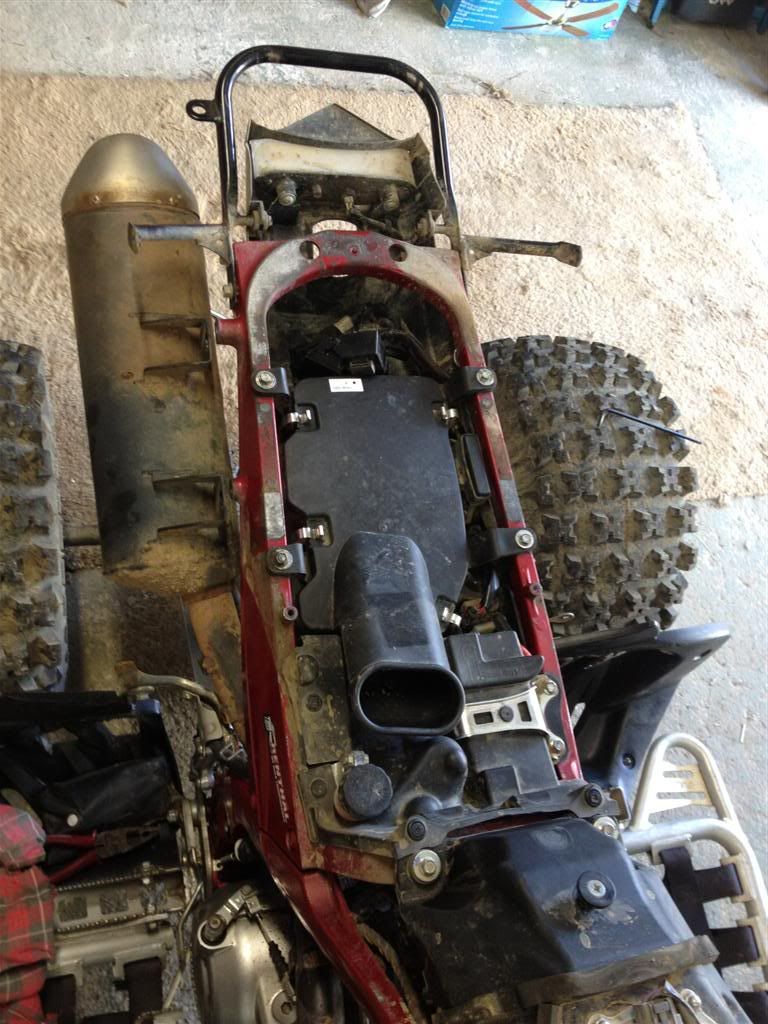
Start off by taking out the 4 fuel tank bolts, and use something to prop the rear up.
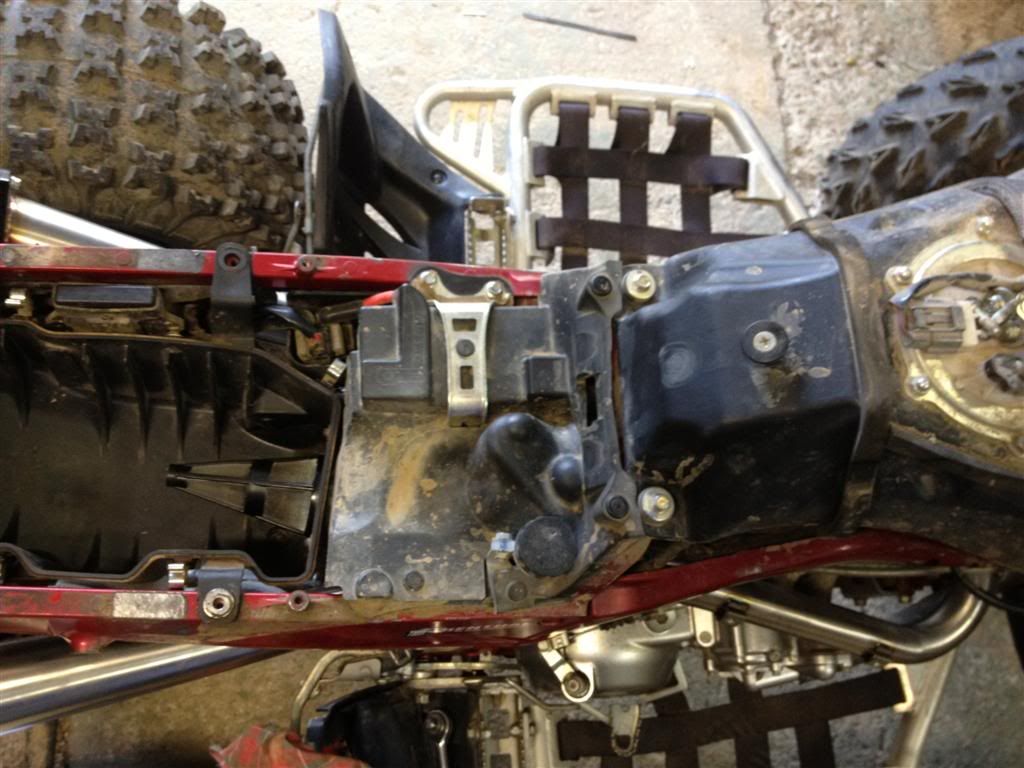
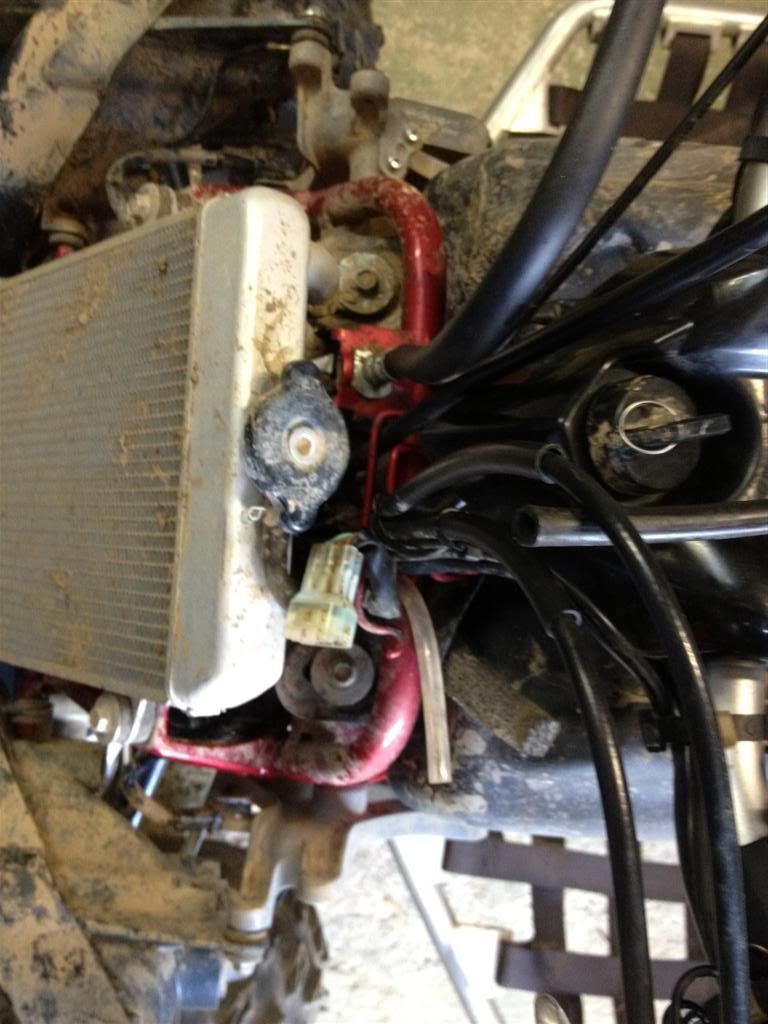
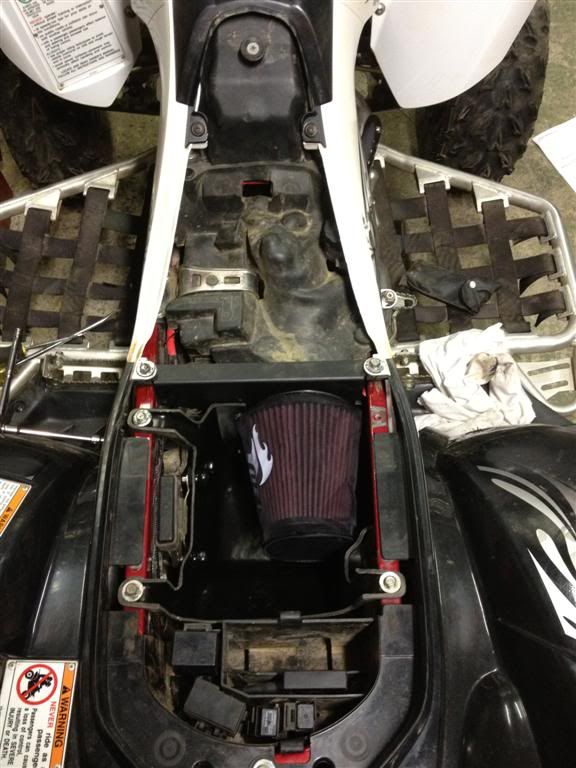
Now you have access to the intake, remove the hoses, sensor, airbox and intake pipe
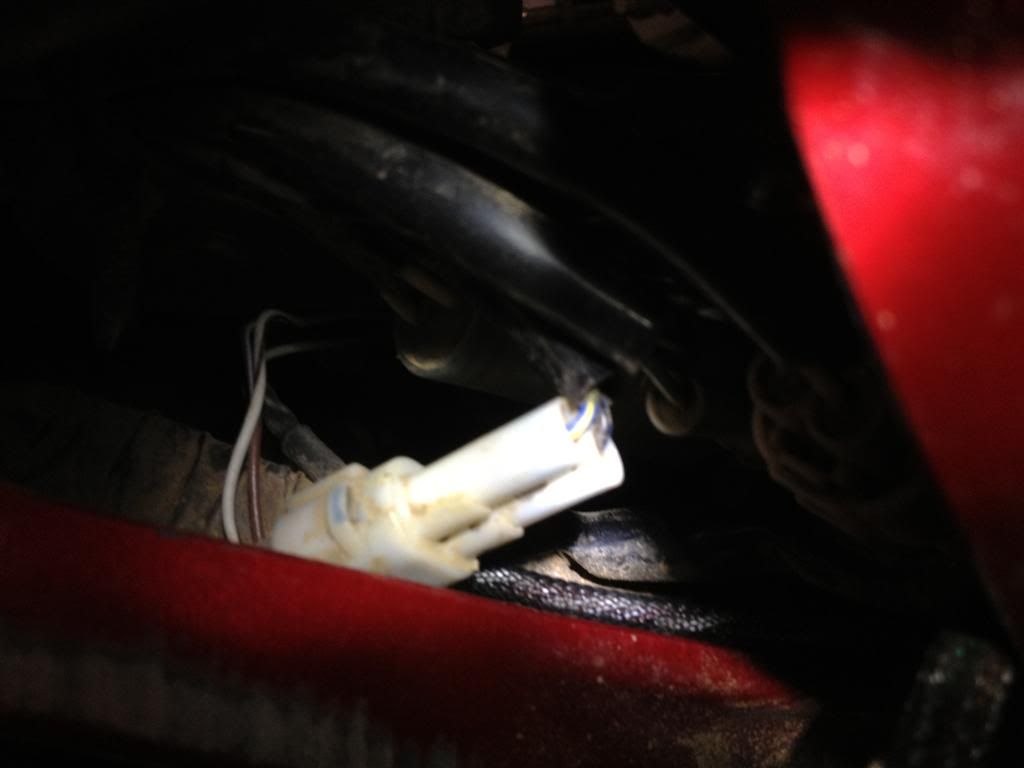
To remove the air sensor, i used a couple of flatblade screwdrivers and carefully wiggled it out.
To fit it to the FCI intake, use the allen bolt and spacer to hold the sensor in place
After a bit of cursing, I made this doohicky up as the exsisting hose kept "pinching/folding" with th new angles

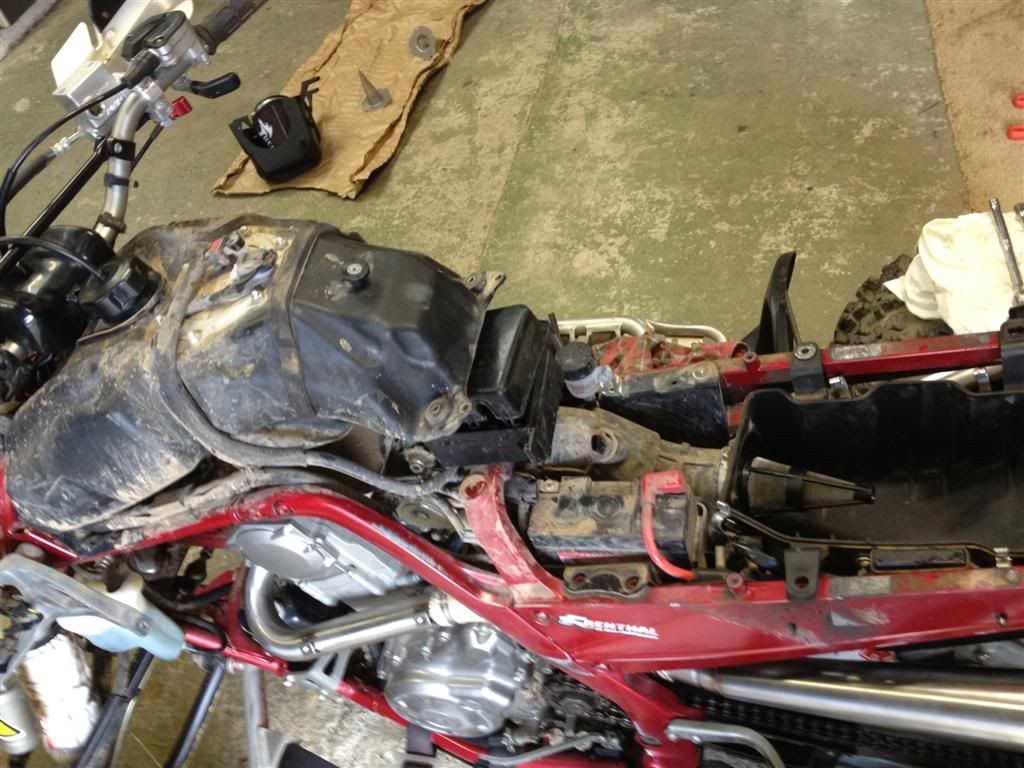
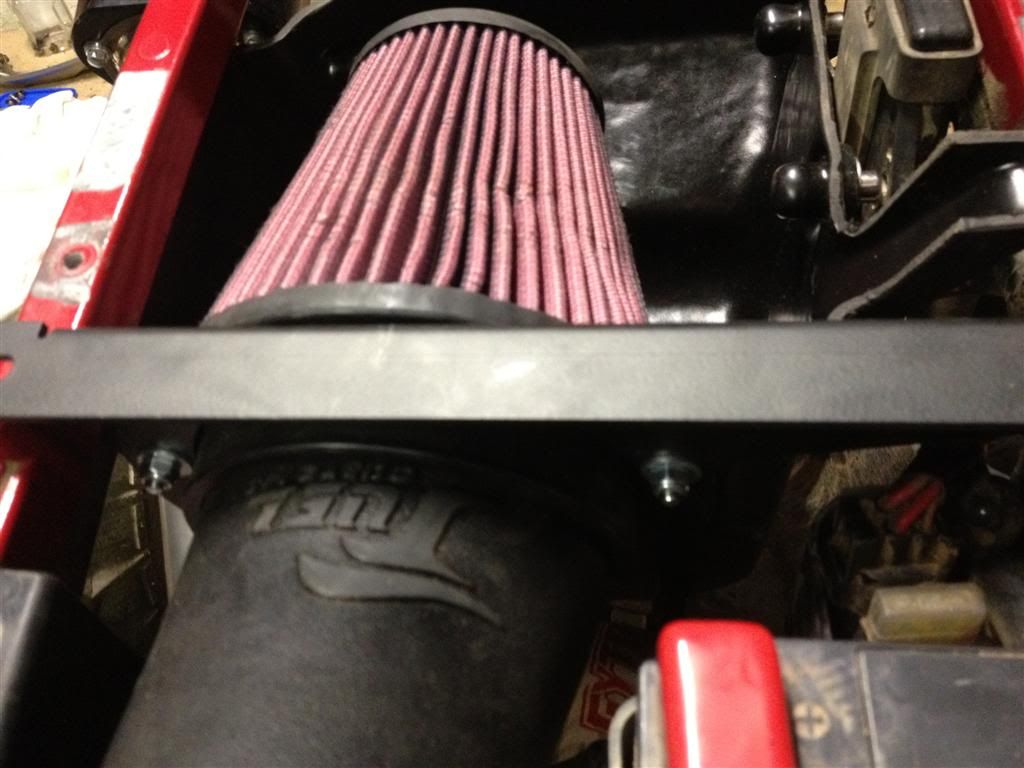
Once that is all together, I went onto sitting the box and brace together. This was abit fiddly and a tight fit for me..
Now it's time for me to wire in the PC5.
I started by sitting the rear fender on the bike, and fitted the relays and PC5 to my desired location.
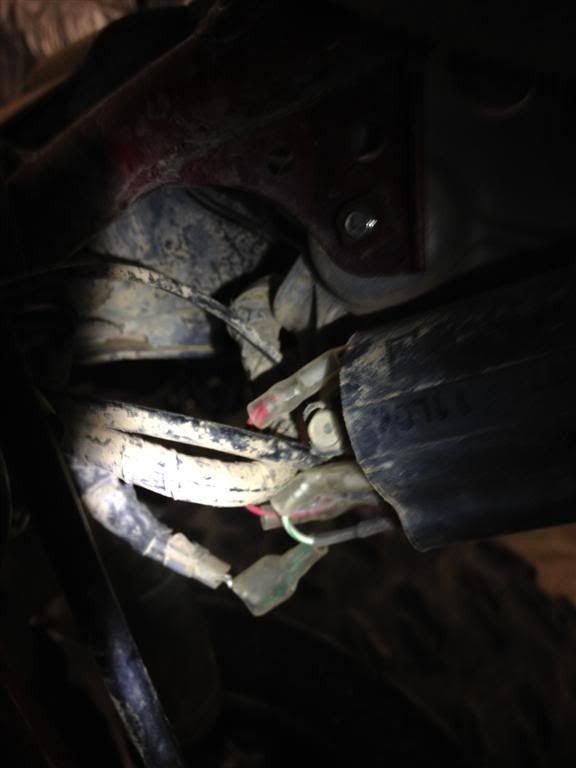
I then routed the harness on the left hand side of the battery and swapped the TPS, Crank and Injector plugs with the inline setup.
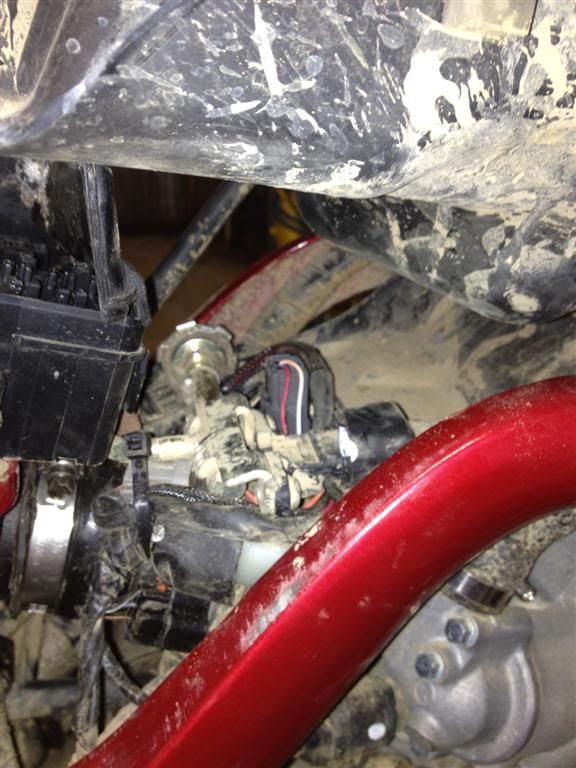
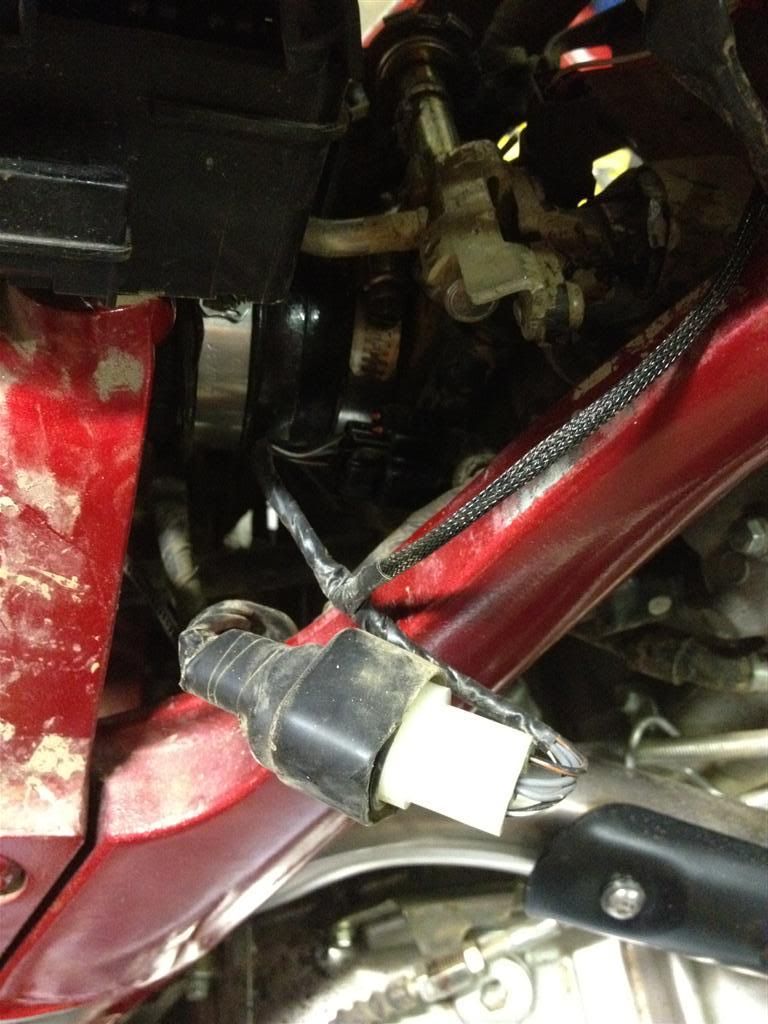
The wires for the ign coil are as followed: RED - RED (top of coil), Green - (bottom of coil)
The crank sensor plug is the 2 pin Blue/Yellow and Black/Blue. (This took me a while to nut that out)
Once you have done that, Go through and tidy up the wiring, making sure it is secure and out of the way.
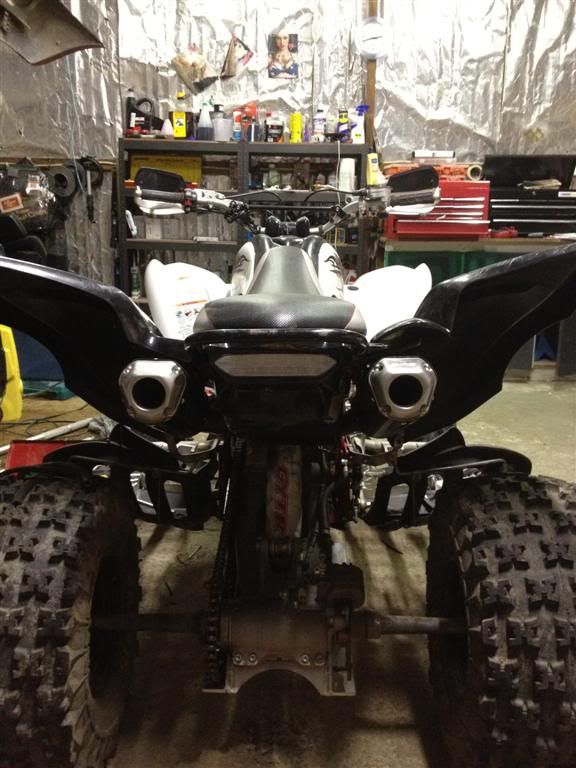
Now you can have the fun part of putting the fenders and everything else back together.. and enjoy a beer or two 
 |
|